
Tattoo shading is an essential technique that brings depth, dimension, and life to your tattoos. As a beginner, mastering this skill can make the difference between a flat-looking tattoo and a dynamic, eye-catching piece of art.
A common mistake made by many in the tattoo community is to overlook the importance of shading. Whether you’re a beginner or an experienced tattoo artist, understanding and applying shading techniques is essential to creating interesting designs.
In the realm of tattoo art, standout designs are characterized by their depth and complexity. Achieving this level of excellence often involves carefully applying various shading techniques to bring the tattoo to life.
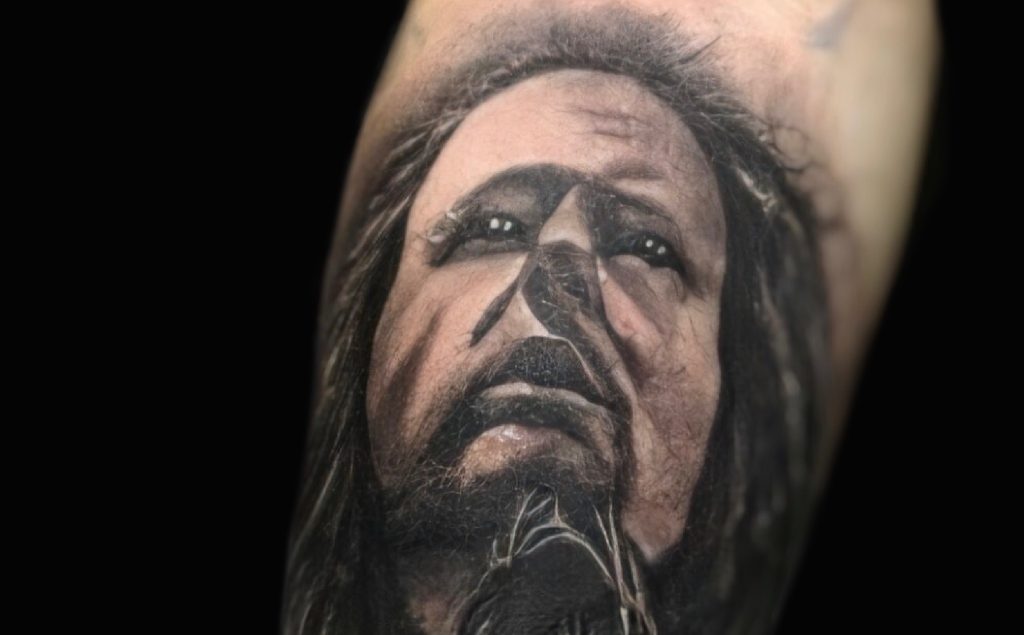
Just as creating a realistic portrait tattoo requires proper shading to achieve a lifelike image, creating an outstanding tattoo designs require mastery of shading techniques.
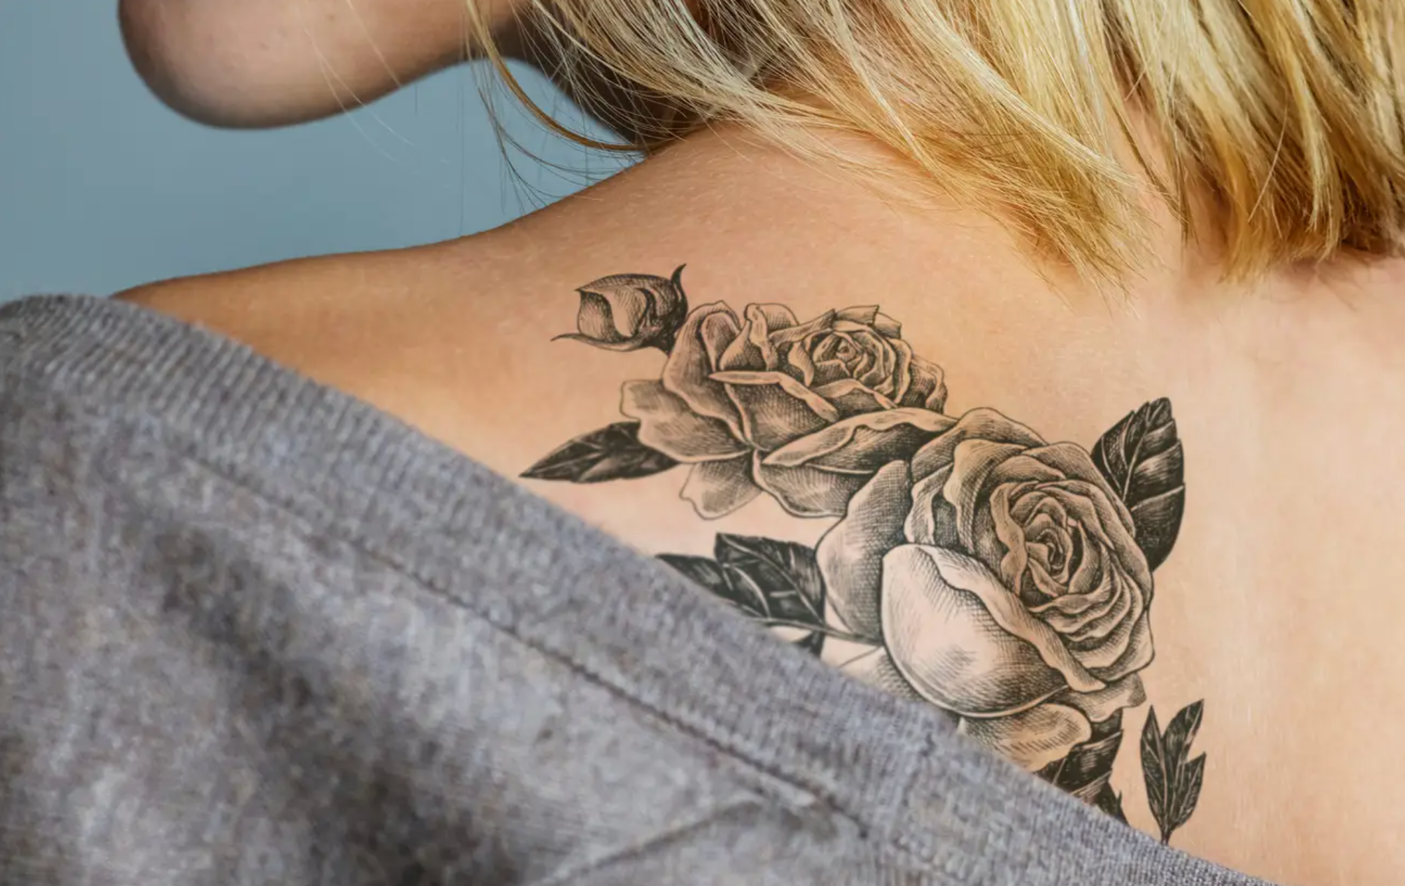
Shading serves as the key to producing realistic tattoos that have intricate details and complexity. It is the secret ingredient that turns simple designs into visually stunning masterpieces.
Tattoo artists who incorporate various shading techniques into their work enhance the overall aesthetic appeal of their designs. This not only satisfies the client’s expectations but also ensures the creation of an attractive and memorable tattoo.

As a tattoo artist, one common question that might cross your mind is whether all tattoos require shading. The right answer is that not every tattoo design requires shading.
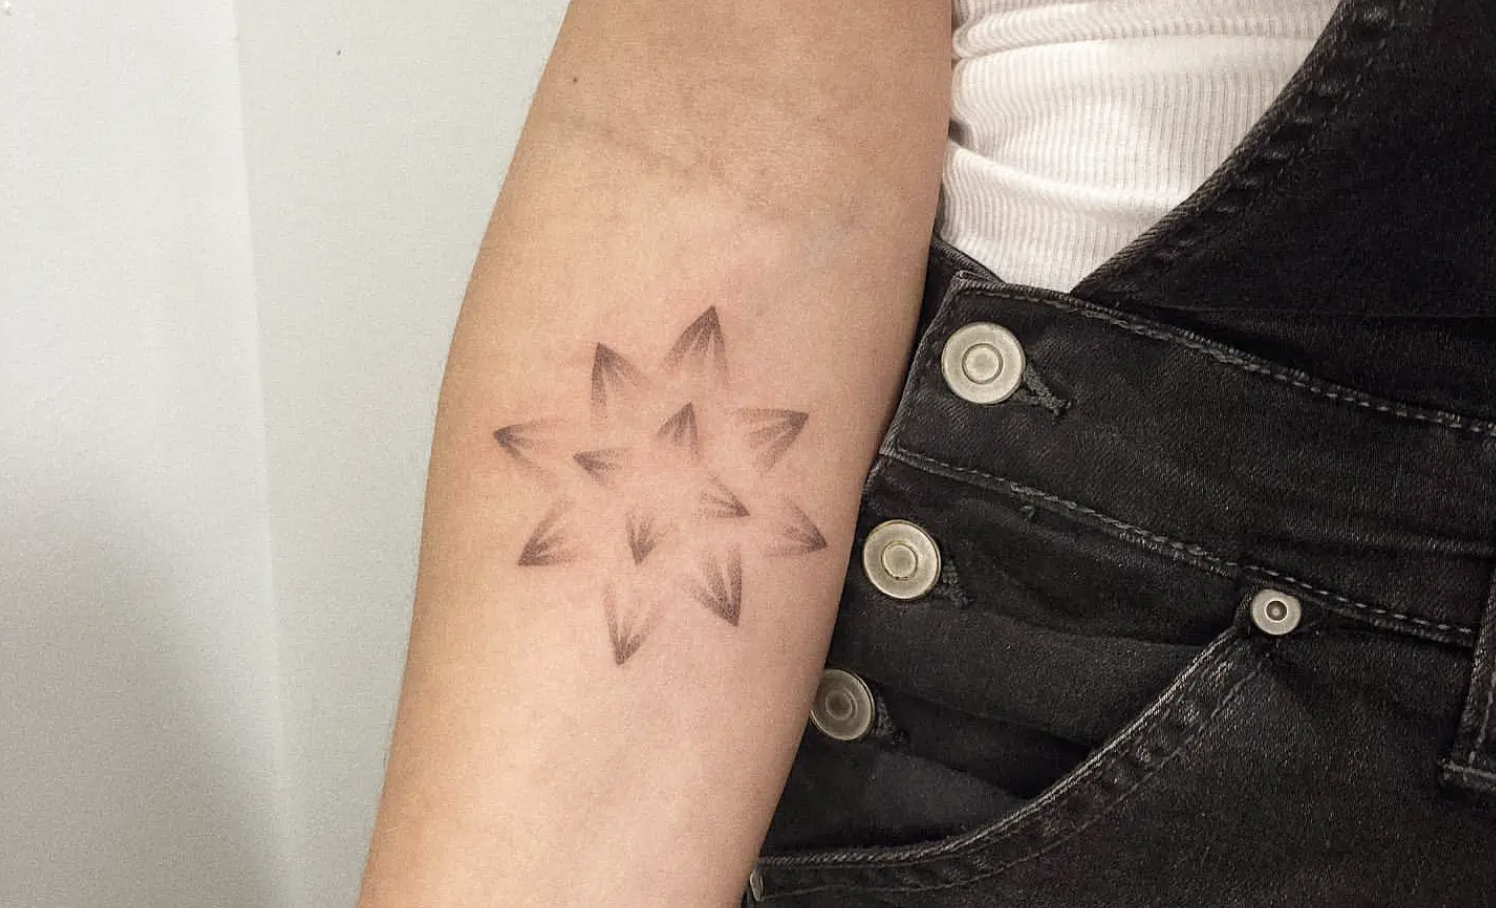
Some individuals prefer minimalist tattoos that emphasize clean lines, such as the very popular infinity symbol. These tattoos, which are characterized by their simplicity, usually do not involve shading. However, it is important to understand that most clients often tend to favor tattoos with shading.
Many people are looking for tattoos that are unique and eye-catching. To achieve this, it often involves using one or two shading techniques to enhance the overall appearance. Shading is used to give the tattoo a realistic or 3D effect, making it stand out.
As a result, it becomes important for tattoo artists to master shading techniques, as these basic skills are often applied in the tattooing process.

There are several tattoo shading techniques that you can use depending on the desired effect. Some techniques create a unique effect, while others have different processes. It’s a good idea to practice tattooing with all these shading techniques. Here are some examples of basic tattoo shading techniques that you need to learn.
1. Whip Shading Technique
A common type of shading is whip shading. This happens when you gradually move the tattoo tool upwards as you apply ink. This will create a gradient effect, with one area becoming darker and the other lighter. Whip shading is one of the more beginner-friendly options. It takes a little practice, but once you know how to do it, it will feel natural. The trickiest part is making sure that you control the needle. You don’t want to pull it too far or create too extreme a gradient.
2. Pendulum Shading Technique
Another one of the common options is the pendulum shading technique. This helps to create dark marks on the skin from ink with lighter gradations around it. This happens because the greatest pressure is applied in the center with less pressure on the sides. Hence, more ink is applied in the center. To use this technique, you need to swing the tattoo needle back and forth. Imagine how a pendulum moves and try to replicate that movement with your hand.
3. Packing Shading Technique
Tattoo shading provides many options if you are just starting out. One of these options is called the packing technique. This is when you create small, tight ovals in the skin to create a solid filling. Using this technique allows you to create solid areas of ink for very dark shadows. It’s very easy to do, making it one of the best techniques that beginners should try.
4. Brush Shading Technique
Another shading technique to try is the brush coloring technique. This technique is often used for portrait tattoos that require deep blending. This technique is very similar to the pendulum shading technique, but is often used for a different type of tattoo. You will move the needle at a certain angle, allowing the shadow to become darker. The brushing motion and pressure help you create an even shadow.
5. Stipple Shading Technique
If you need to create dotted lines, the stipple coloring technique is what you need. To perform this technique, you will need a three-round liner needle with a long taper. You need to use a quick shading or brushing-like motion when using this needle. For distant points, move the needle as quickly as possible. For tight spots, move the needle slowly. This technique is one of the more unique options. It also allows you to create gradient shadows that add depth to the tattoo.

Tattoo needles come in different types, and choosing the right one is important for good shading. Here are some good needles for beginners:
Magnum needles (Mags): Best for shading large areas. They give smooth shading and blend colors easily.
Round shaders (RS): Great for small, detailed work. They offer more precision for fine details.
Tip: Always use good-quality needles to avoid skin problems and ensure smooth shading.
Tattoo machines allow you to adjust the voltage, which controls the speed and strength of the needle. For shading, you need a lower voltage than for outlining. A lower voltage helps create smooth transitions between light and dark without harming the skin.
Tip: Start with a voltage of around 7 to 9 volts. Test on practice skin before working on real skin.
How hard you press the needle affects the shading. Too much pressure can hurt the skin, and too little may not give enough ink. Find the right balance:
Light pressure: For soft, light shading.
Medium pressure: For darker, more intense shading.
Tip: Practice on synthetic skin or fruit like oranges to learn how to control pressure.
Shading isn’t done in one go. You need to build it up layer by layer. Start with light layers of ink and gradually make it darker. This gives you better control and creates smoother shading.
Tip: Let the skin rest between layers to avoid irritating it.
To make tattoos look real, think about where the light is coming from. All your shadows and highlights should match this direction to add depth to your tattoo.
Tip: Imagine how light would fall on the design you’re working on, or use a reference image to guide you.
Tattooing opens up the skin, so it’s important to stay clean to avoid infection. Always clean the skin before starting and wipe away extra ink as you work.
Tip: Use a soft cloth with green soap to clean the area without disturbing the fresh ink.
The way you move your hand affects the smoothness of your shading. Slow, steady movements give smoother shading, while fast movements create rougher effects.
Slow movement: For soft, smooth shading.
Fast movement: For sketchy, rough effects.
Tip: Practice keeping your hand movements steady for better results.
To get smoother gradients and lighter shades, you can mix black ink with water. This makes it easier to create smooth transitions from dark to light.
Tip: Prepare different shades of diluted ink before starting to make your work easier.